Layered Cake Pops (or Petit Fours on a Stick)
Yes. This is happening. You can’t unsee this.
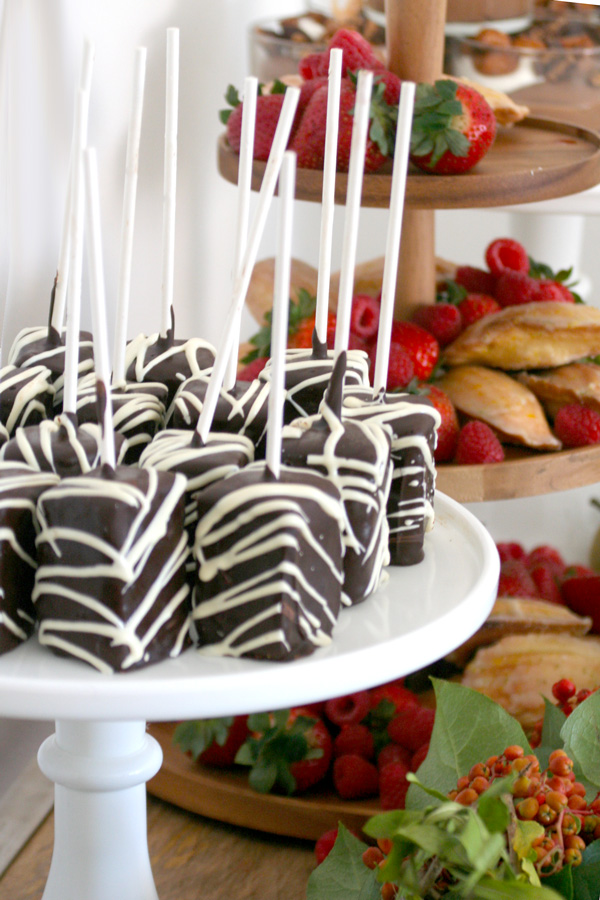
For Rebecca’s baby shower menu, I considered making petit fours, but they just weren’t ridiculous enough. So I dreamed up these pops, which combine the powers of the classic and classy petit fours glacés with the trendy and now ubiquitous cake pop for one over-the-top, uber-treat.
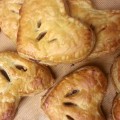
And the best news is you only need a very few, ready-made ingredients. Pound cake. Jam. Chocolate. A little swagger.
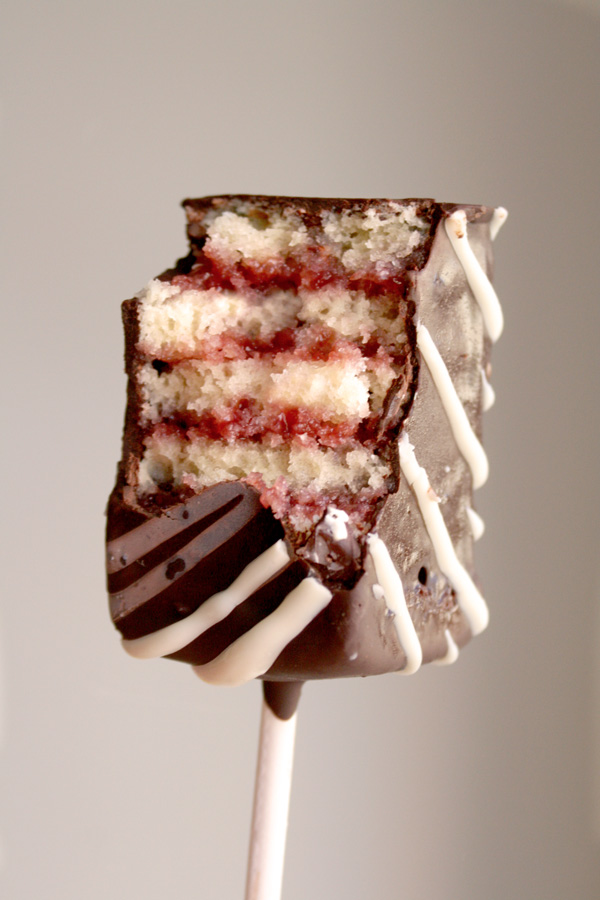
These are a bit more substantial than the usual cake pops, which barely are worthy of their own lollipop stick. They are at least 3 or 4 bites, and the chocolate to cake ratio is excellent.
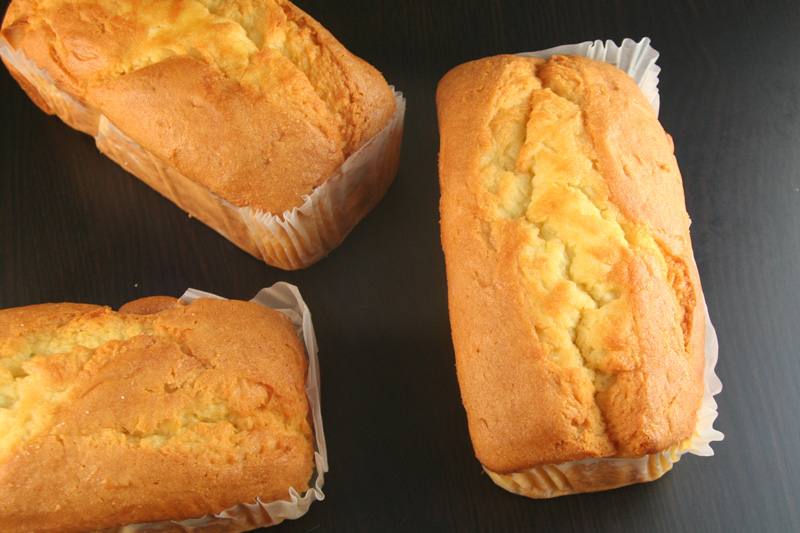
I used pound cake since I felt it would hold together better when sliced very thin. And because I had a time crunch and knew I could get a 3-pack at the Costco bakery. Hee. Then all you need is jam for a filling. I used raspberry but I’m thinking apricot will also be divine.
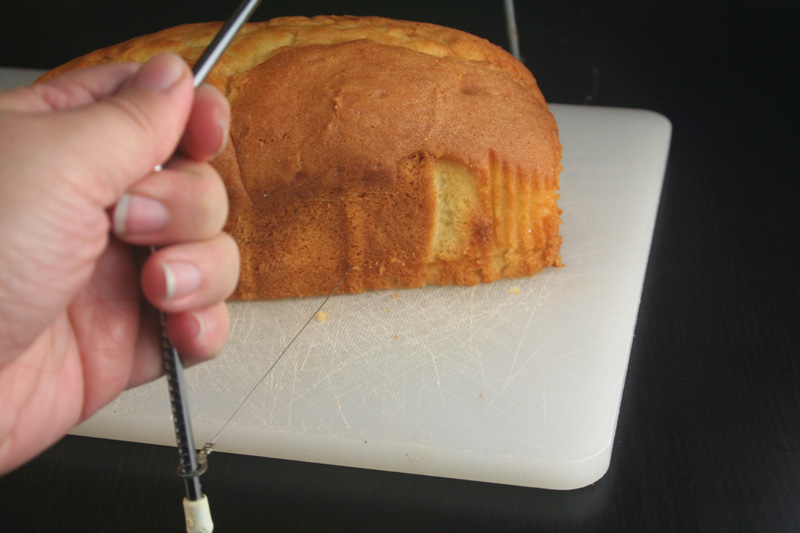
The easiest way I could find to make such thin, even layers was with a cake leveler. It’s a simple, inexpensive tool- just a wire pulled tight to adjustable heights. It’s usually used to trim the domed top off of cake layers, but it worked well here to make consistent, even slices. If you can’t get one, cut very carefully and as evenly as possible with a long, sharp knife.
Dipping in chocolate can be intimidating, but don’t worry, you can always cover in sprinkles or drizzle with white chocolate to hide dipping mistakes. And really, people are pretty forgiving about the appearance of things dipped in chocolate. The big trick is choosing a method that will allow the chocolate to harden to a nice crisp finish. This requires some careful melting, or tempering, of the chocolate. Or, if you want an easier option, candy melts are also a good choice and only require to be melted. Of course, real chocolate will taste better, but candy melts are a more reliable option for the candy-making novice. It is worth it to spring for good quality candy melts like Merckens, though.
My super lazy method to temper chocolate: Chop chocolate into small pieces. Bring an inch of water in the bottom of a double boiler to a simmer, or a saucepan that will fit a metal bowl securely. Transfer about 2/3 of chocolate to top of double boiler or metal bowl. Melt slowly, while stirring occasionally, until completely smooth. Remove from heat and add remaining 1/3 of chocolate. Let stand for a minute or two to soften, and then stir until completely smooth. Get much more accurate and better instructions to temper chocolate at Sugar Hero.
More from the Baby Shower Menu for Rebecca.
Layered Cake Pops (or Petit Fours on a Stick)
To make 10-12 pops, you will need:
- 1 pound cake
- about 1/2 cup raspberry jam
- about 12oz dark chocolate or dark chocolate candy melts
- white chocolate or candy melts for drizzling
- 10-12 lollipop sticks
Handy equipment:
- cake leveler
- squeeze bottle for drizzling
For Assembly:
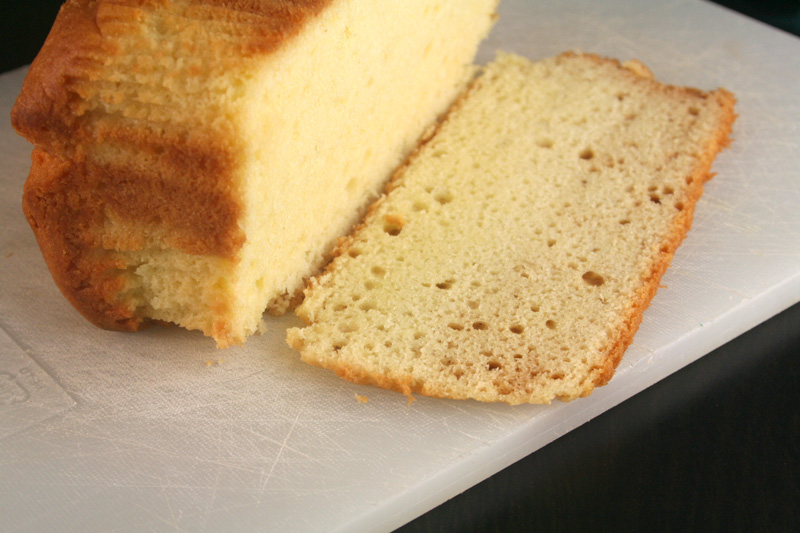
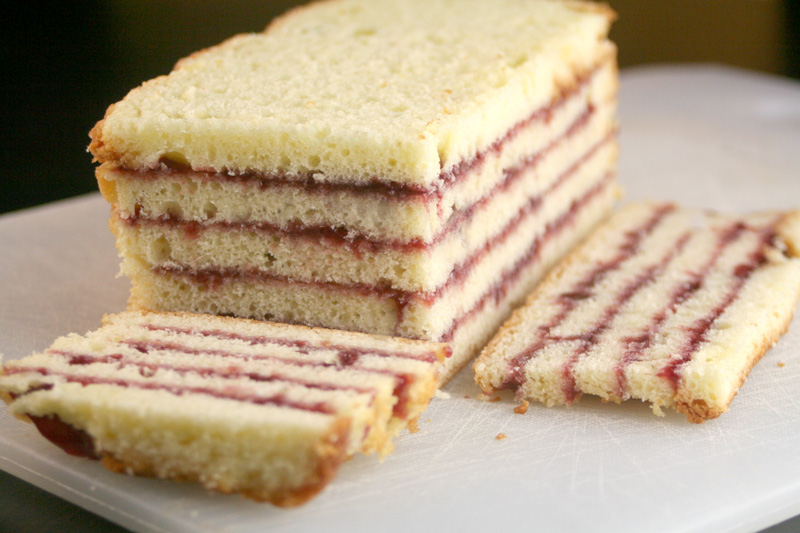
Trim off the bottom, just enough to get rid of the slightly darker edge.
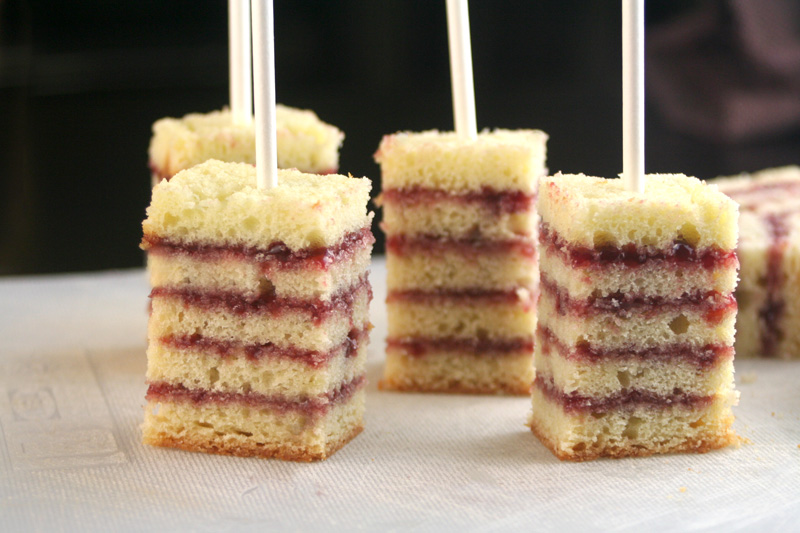
Cut into thin-ish layers. Aiming for about a quarter of an inch is good.
My cake leveler doesn’t have enough notches to make the layers as thin as I wanted, so I used a cutting board to boost up the cake, with the leveler against the table.

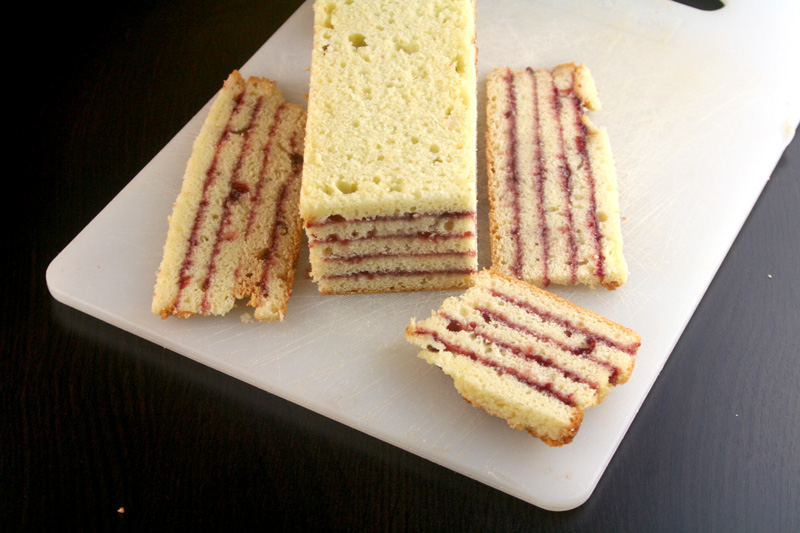
Keep slicing as long as you can get even slices of the same size. You won’t be able to use all of the domed top.
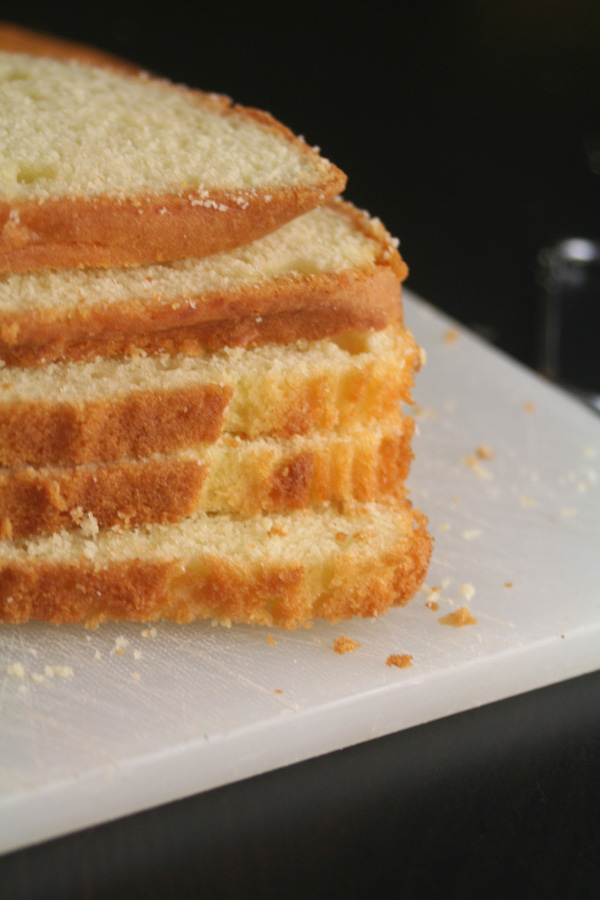
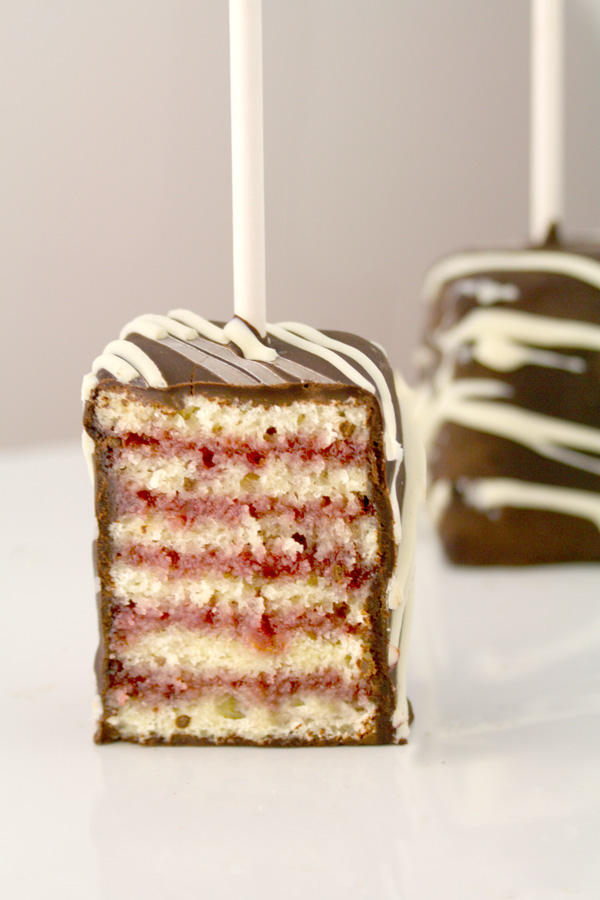
I was able to get 5 or six layers in the height of each loaf.
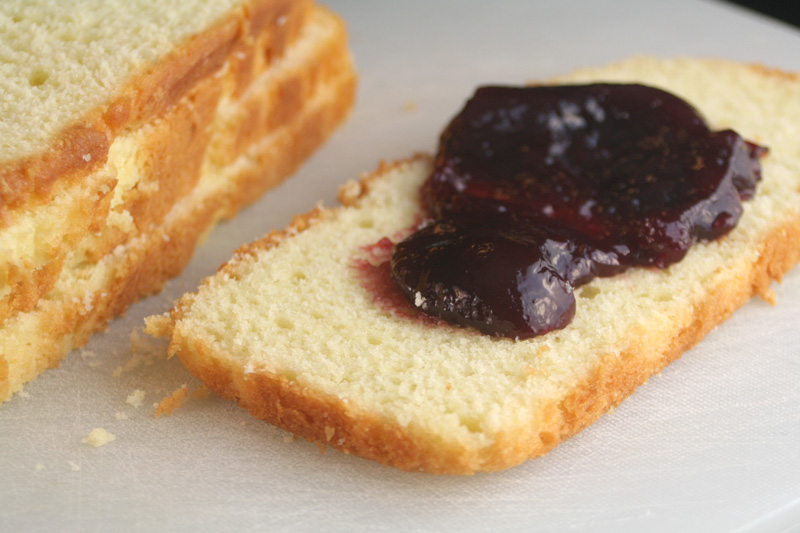
Add a few tablespoons of jam.
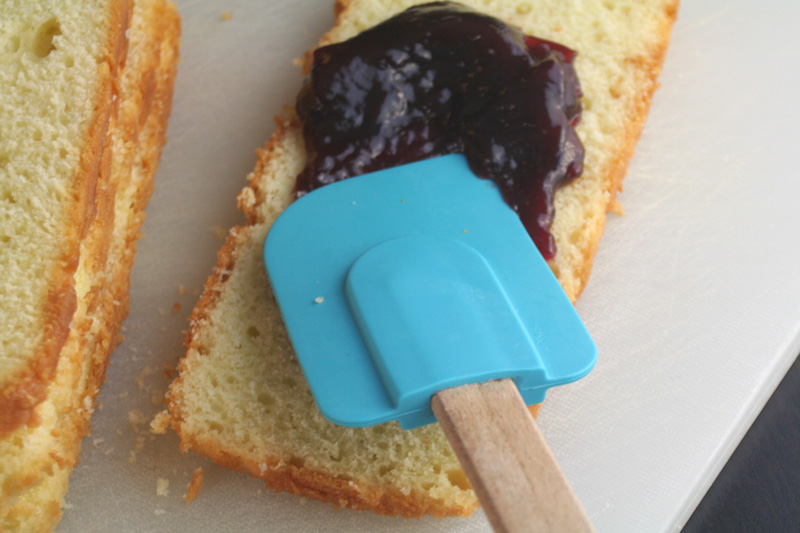
Spread to a thin-to-medium thickness. Too much will just ooze out.
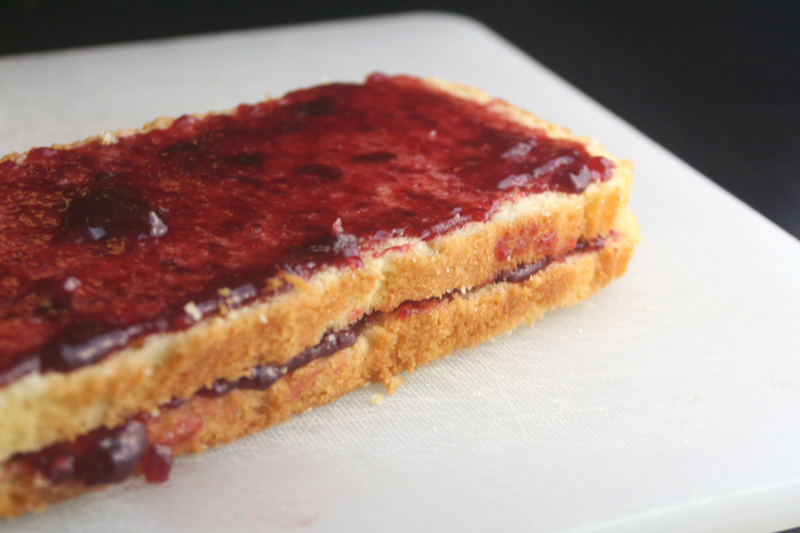
Add another layer on top and spread with jam.
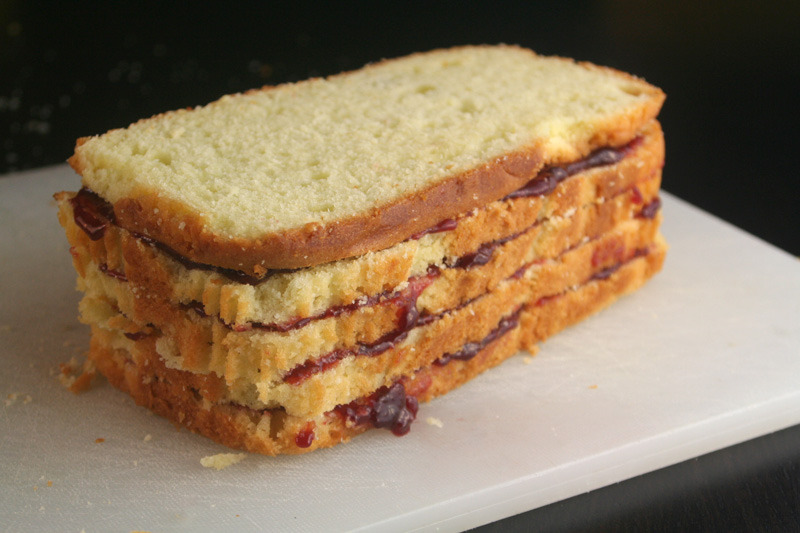
Until all layers are spread (except for the top one).
Transfer to the freezer to firm up, about an hour. This will make the the next step much neater.
Once fairly firm, remove from freezer. Trim off uneven edges.
You will probably need to just eat the scraps to not be wasteful.
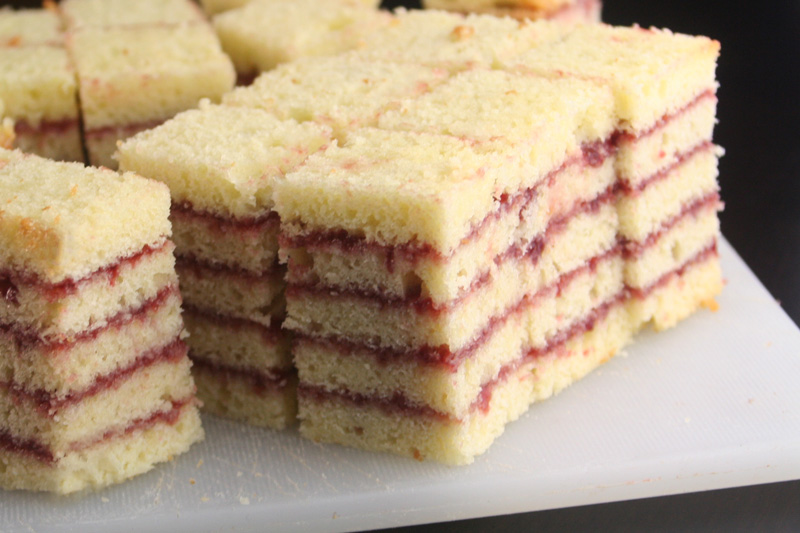
Cut into pop-sized pieces. I was able to get 10-12 per loaf. Next time (and there WILL be a next time), I may try cutting cylinders with a small circular cutter.
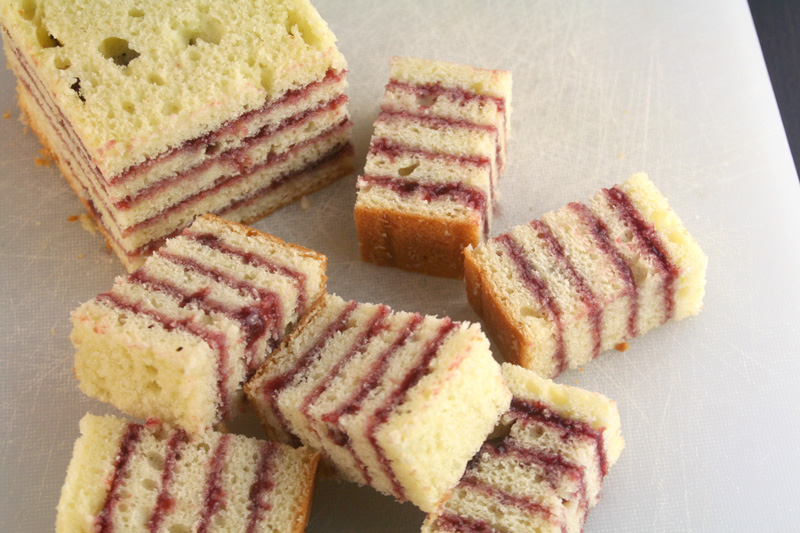
I forgot to trim the bottom of this loaf. Pretend you didn’t see that.
Insert lollipop sticks into each piece, at least halfway down.
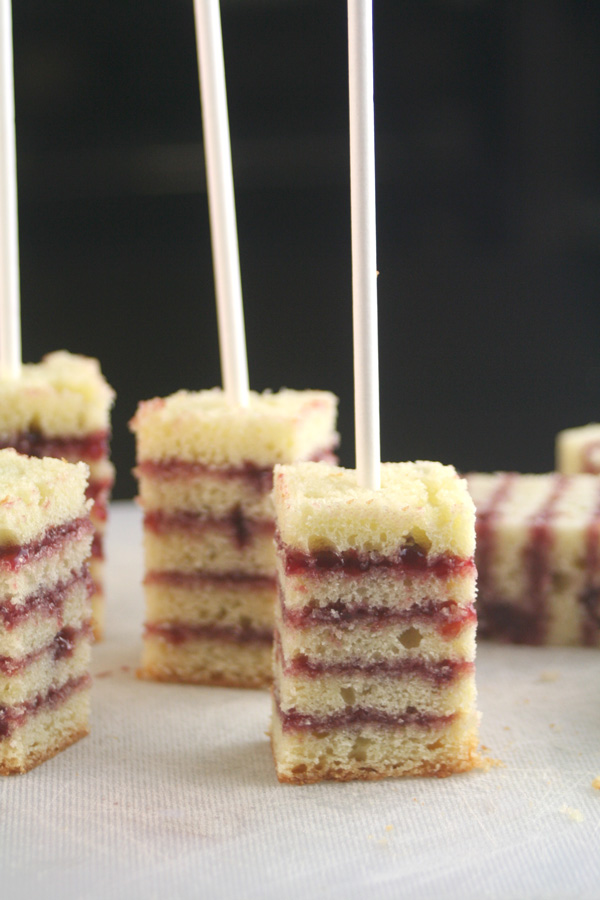
Return to freezer to make fully firm and keep the stick secure while dipping.
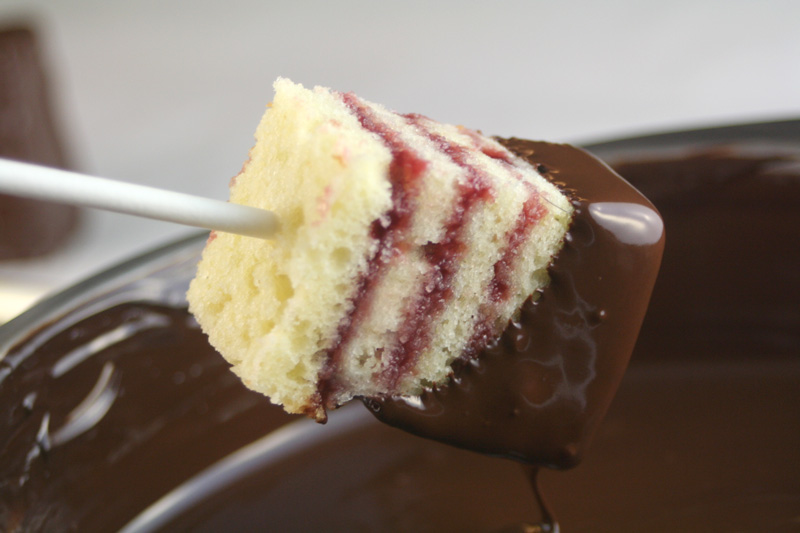
Dip in melted chocolate.
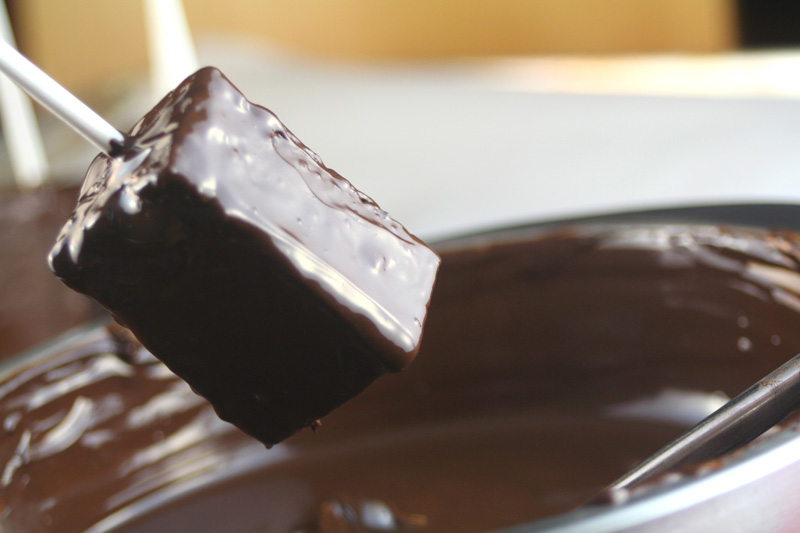
Tap off any excess chocolate.
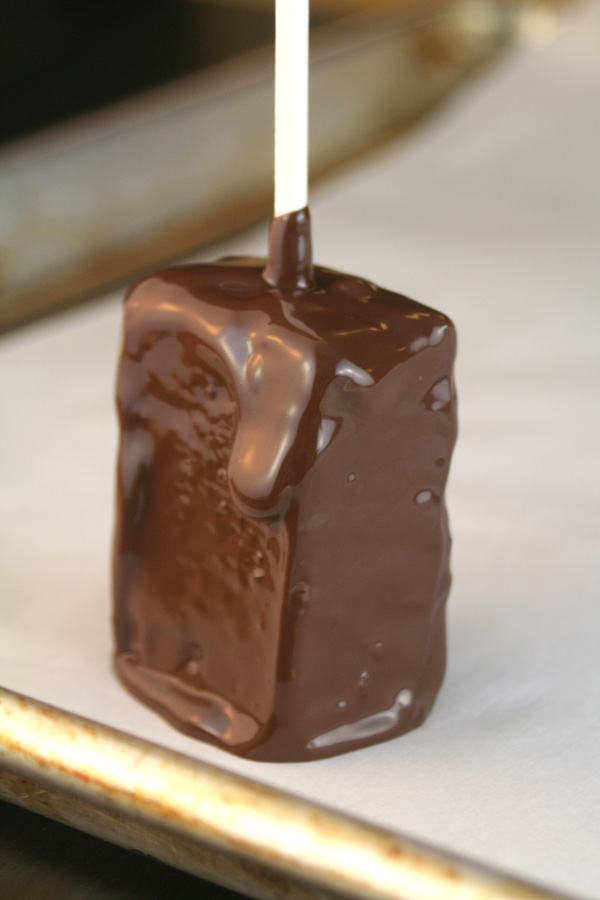
Place on a baking sheet lined with parchment or wax paper. Allow to cool completely, until chocolate is hardened.
Melt the white chocolate or white candy melts. My white chocolate wasn’t really drizzling consistency, so I thinned it out with a few tablespoons of shortening. Transfer to a squeeze bottle if you have one, or drizzle with a fork.
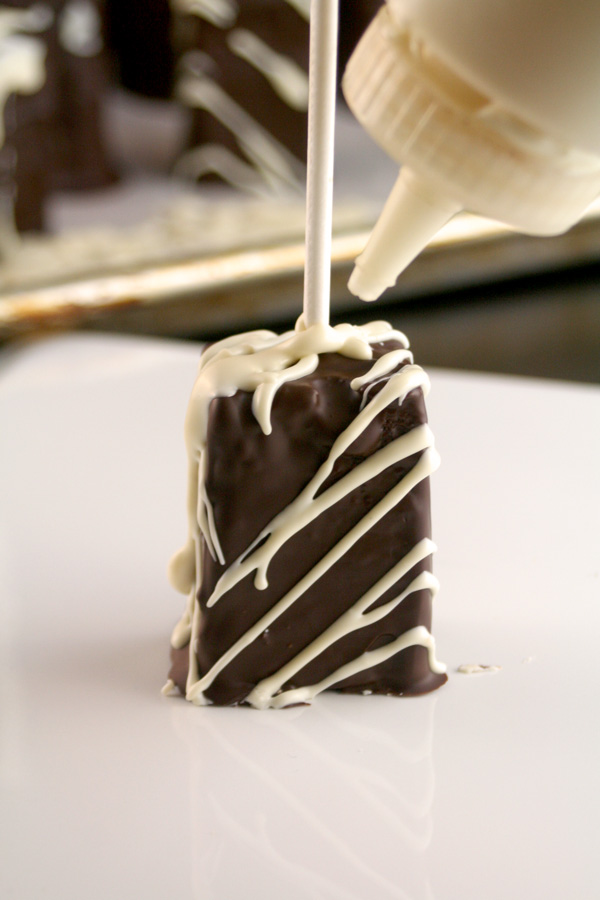
I tried valiantly to get a good drizzling action shot, but it turns out judging depth through a camera lens is a skill I don’t possess. This is the least messy one.
Dominate.